How to test water quality? Chemical tests for limited budgets
Chemical water quality parameters
Having identified various test formats, the next question is: What do we test for? UNICEF recommends prioritizing fluoride, arsenic, and nitrate for chemical monitoring. In areas where the earth is naturally rich in minerals that contain fluorine and arsenic, levels in well water can be high enough that chronic exposure is dangerous to human health.[1]
How can we test for these elements?
- Fluoride: At least one color disk test kit is available for fluoride. However, portable digital colorimeters are often preferred because of concerns over accuracy. Ackvo Caddisfly, a testing system, recently described a colorimetric fluoride test that can be read by a smartphone app.
- Arsenic: Portable field testing options for arsenic are limited; this contaminant is best measured in a laboratory. Commercially available test kits do exist, but they are relatively complex and require several steps. Although the arsenic concentrations “measured” with these test kits may be inaccurate, the kits do detect arsenic in nearly all samples greater than 100 micrograms per liter (ug/L), as well as in most samples in the 50-99 ug/L range. UNICEF has therefore recommended reporting arsenic monitoring results from these portable tests as “present” or “absent” using a reference concentration of 50 ug/L—the drinking water standard in many countries that are affected by natural arsenic contamination.
- Nitrate: Both test strips and color disk test kits are available for nitrate testing. Nitrate can also be measured with a digital meter. High levels of nutrients are associated with agricultural pollution from fertilizers (nitrogen and phosphorous) and animal waste (nitrogen). Latrines, sewage, landfills, and industrial pollution can also contribute nitrogen. Monitoring for nitrate is a simple way to assess the impacts of agricultural and human waste on water quality.
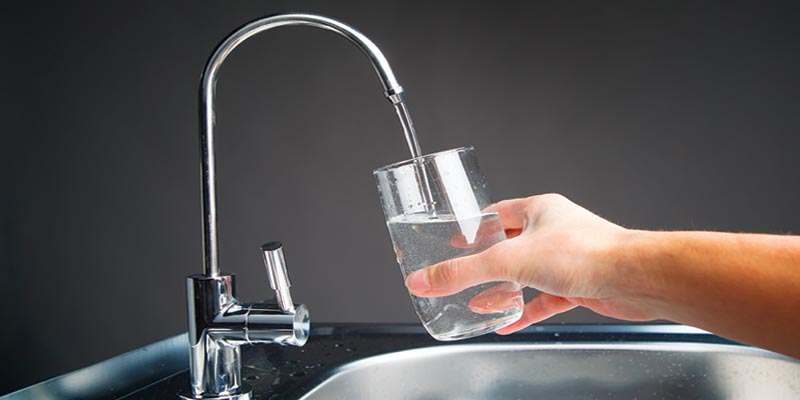
How to Test Your Tap Water
If you’re on well water, you won’t get a CCR, so you should get your water tested. That’s also a good idea if your home was built before lead-free pipes were mandated in 1986: Even if your CCR says that the municipality’s water is free of lead, it can leach into your water from the pipes in or leading to your house.
Many kits are available for do-it-yourself tap testing, but it’s not always clear what they test for or how accurate they are. The EPA recommends using a certified lab. Find one on the EPA’s website. Testing typically costs $20 to $150; your community might provide test kits free of charge.
Once you know what’s in your water, choose a filter that suits your needs.
For multiple or high levels of contaminants, reverse osmosis filters are often best. They can remove lead, arsenic, bacteria, and other contaminants. But they take up a lot of space (typically under your sink), require additional plumbing, and often go through several gallons of water for every gallon of filtered water. They’re pricey, too, some costing $1,000 or more. You might also have to pay a professional to periodically service the system.
How to Test the Quality of Your Drinking Water
How Does Our Water Become Contaminated?
The contaminants that degrade the water quality come from a number of sources. Some of it gets there from people dumping it down their toilets, while other chemicals show up thanks to runoff from farms or mining, leaching from landfills, or improper storage and disposal at manufacturing plants. In addition to the chemicals, many of our waterways are filled with harmful bacteria, such as E. coli.
Is Your Drinking Water Safe?
The Environmental Protection Agency regulates a number of harmful substances, such as uranium, lead, and arsenic. For each of these, the EPA sets a Maximum Contaminant Level indicating at what concentration these chemicals and minerals can exist in our drinking water before it is considered unsafe to drink.
The Downside of the EPA’s Annual Water Quality Report
While these reports are a great resource that provide a high-level overview of what’s in the pipes in your home, they cannot reliably provide a complete picture of your water quality.
When Should You Get Your Water Tested?
The EPA recommends you test your water annually to get a sense for what you may be drinking and if there are changes over time. In addition to yearly water tests, some of the things that should prompt you to test your tap water immediately include.
How to Test Water Quality
Understand what you will be testing for. The quality of water depends primarily on the concentration of bacteria, lead, pesticides, nitrites/nitrates, chlorine, hardness, and the water’s pH. Chlorine aids in disinfecting; nitrates leached from fertilizers are harmful to infants; calcium and magnesium (“hardness”) can cause scale buildup in pipes; and water with very high pH levels (acidic water) can corrode fixtures.
Purchase a home water quality test kit. There are many manufacturers of these kits, but they all function similarly. They will contain test strips that you will expose to water, causing them to change color based on the water’s mineral content. You will then match the strip’s color to a color chart.
Read the directions. In your test kit, there will be some directions. These will explain exactly how long each type of strip should be exposed to water, as well as what temperature the water should be. These directions can vary from test kit to test kit, so even if you have done this before, it is crucial to read and follow the instructions.
Expose each strip to water. Follow the guidelines in your test kit to expose each strip to water. Typically, you will start by filling a glass with room temperature water. Then, you will dip the strip into the water and keep it submerged for about 5 seconds, moving it back and forth gently.
Remove the strip from the water. Pull the strip out of the glass and shake off any excess water. Wait for the strip to slowly change color, as you compare it to the color chart included with the testing kit.

Afraid of Contamination? How to Test the Water in Your House
Water. It comprises more than two-thirds of the weight of the human body and nearly 95 percent of your brain. You need it to live, and hopefully, you’re consuming between 2-3 liters of water a day. But if you are, what else are you drinking? What is in your well and what microscopic baddies have hitched a ride on your H2O? The DIY experts at Stack Exchange offer a few tips on spotting contaminents in your drinking water.
You can buy a test kit from your local home center or online. The kits usually come with a package of strips that contain reactants that change color to indicate the presence of various contaminants in your water.
But beware: the kits are not terribly accurate, and they don’t test for all harmful contaminants. If there are very high levels of certain contaminants in your water, the kit very well may flag the problem. But don’t expect high accuracy or a guarantee that your water is safe.
There are currently (to my knowledge, at least) no continuous processes for checking bacteria — though I do know of at least one company who has been working on it for commercial applications (I would guess it would cost upwards of $20k). There are some sensors that can monitor other attributes. Most are prohibitively expensive for a home.