How do you set up a photo booth for a wedding?
The Setup
- The Lights
We used a single Studio flash placed right beside the camera in order to reduce shadows. We bounced the light out of a white umbrella.
This is one of the most affordable lights on the market and I feel it worked excellently for the booth.
- The Background
Our lovely couple provided the awesome background.
It was fabric they had purchased from an outlet. They had created a rather elaborate PVC structure to hold the fabric, but you could just as easily tape fabric or paper to the wall. Interestingly, you need much less fabric or paper than you would think. I think you would be more than safe with an area covering about 5 feet high and about 8-10 feet wide. If you’re super fancy, white seamless paper on a proper stand would be very lovely. I’d suggest trying this out before investing a lot on gear though, since you can do it very simply! Renting or borrowing paper and a stand are other options.
- The Triggers
We used PocketWizards to sync the camera and the light, but since you only need one light and it’s extremely close to the camera you could easily just use the free sync cord that comes with the light.
- The Camera & Settings
The camera was a Canon 5D on a tripod set to shoot large JPEGS (I didn’t want to process all the RAW files!). We set our shutter at 1/200 (can’t sync the light faster than that). The aperture was set at f/5.0 in order to get larger groups in focus. Aperture was set to 125 ISO, and the light was set to almost it’s lowest setting. We also set the camera to all points focus, in order to hopefully maximize the sharp shots given that many people would be in the shots and not all standing on the properly marked X. 😛
- The Lens
Surprisingly we used a 50mm lens. I thought we would need a wider lens but the 50 just perfectly covered the amount of fabric background. If you had a larger background using a wider lens, shooting from farther away, or shooting vertically would all be interesting options to experiment with.
- The Remote
We used a cheap eBay remote to allow the guests control of the camera. I think this is a pretty great part of the photo booth. You could try to man the booth yourself, but I think you’d get very different photos from the ones they would take themselves. This is where the all points focus and the larger aperture of f/5.0 help out. Update: These are the wireless remotes we now use which are more robust and reliable.
- The Instructions
It’s useful to have some instructions printed out explaining what people should do. Our couple had a sign up that invited guests to grab a friend. I would probably also add where to stand, where to look (yes, some people looked at the light, not the camera) and how to use the remote. All simple things, but very helpful!
Find the Perfect Spot for Your DIY Photo Booth
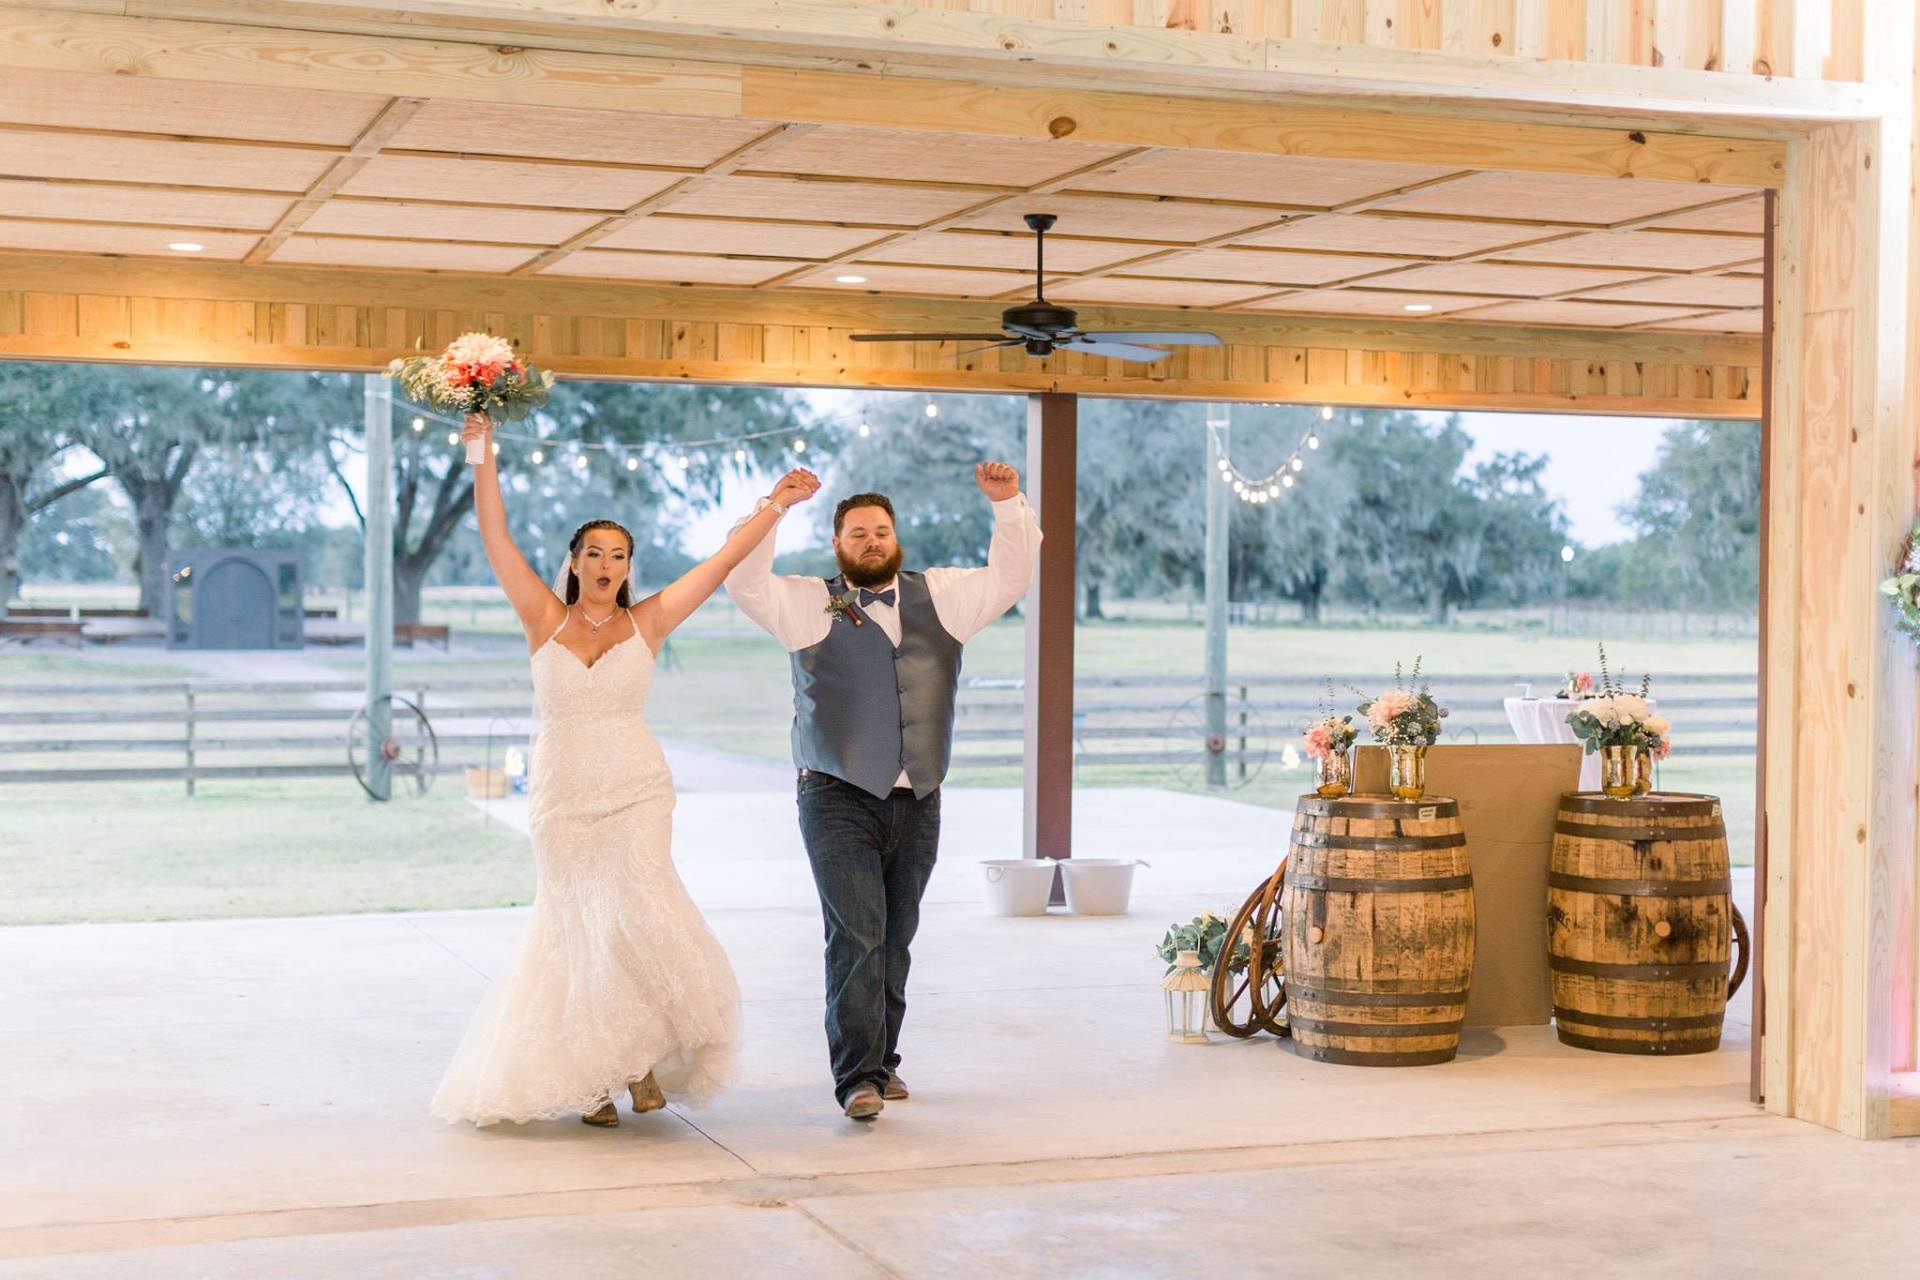
Start with staking out a spot at your wedding reception. Your DIY photo booth location should be one guests can easily find, but not one that interrupts the flow of your event. Dance floor corners, unused coat closets or the wide open spaces of the great outdoors are all great options. Once you find a suitable space, take a few measurements and let the picture planning begin.
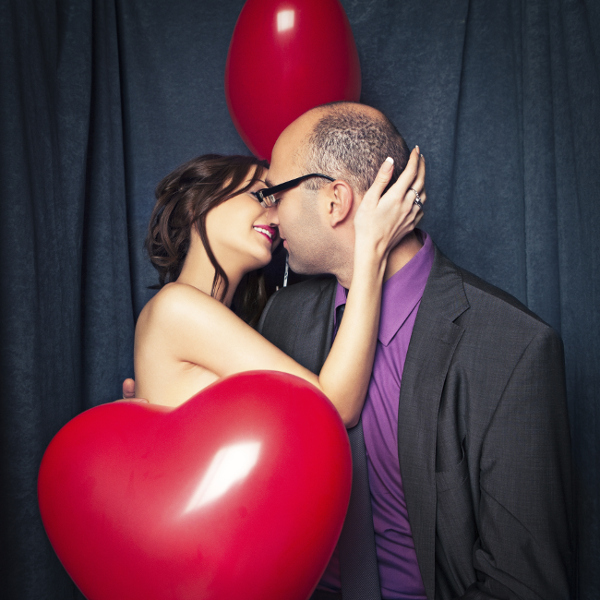
Build a DIY Photo Booth Backdrop
The faces of your family and friends having fun are sure to be picture perfect all on their own, but a styled backdrop can make photos even better. If you’ve never wielded a hammer or drilled a hole, the thought of constructing a DIY photo booth backdrop may seem above your skill set. Don’t fret! Simply select a simpler setup.
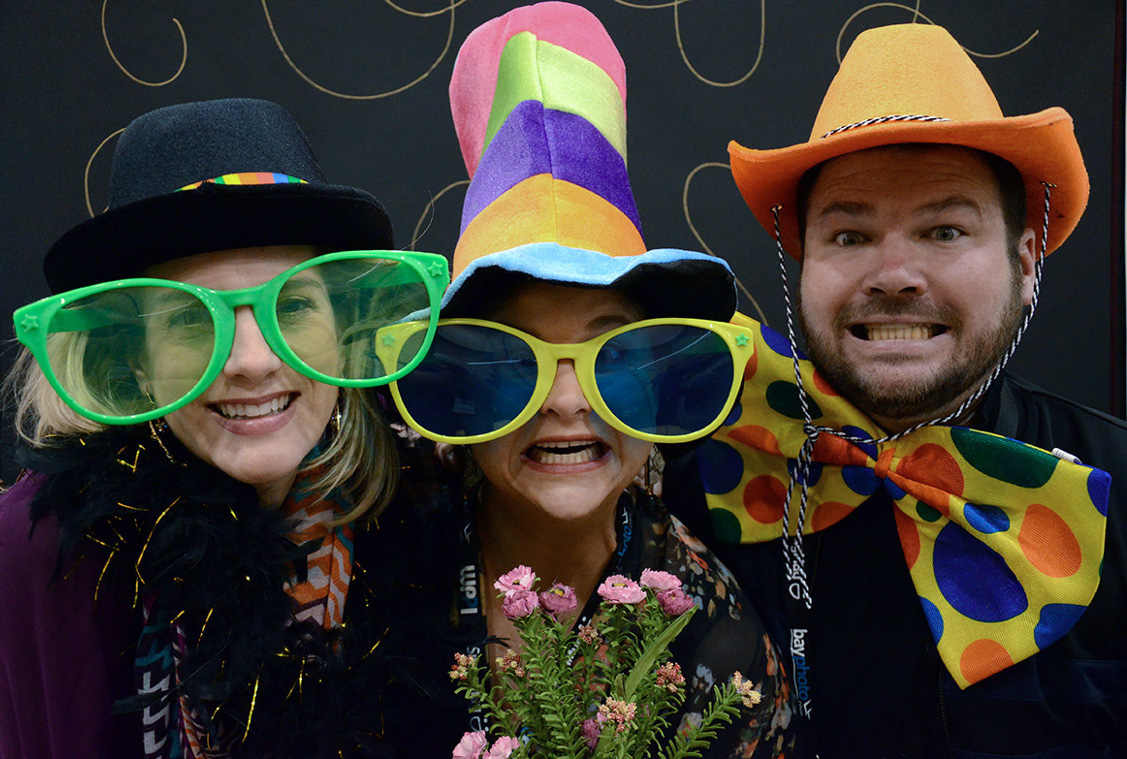
Get your props sorted
Now for the fun bit! There are lots of fun places to find some great props and so much to choose from. We suggest having a look at all the cool sets that Not On The High Street have to offer for some great options, or maybe go completely DIY and make your own!
Instantly Shoot and Share Your DIY Photo Booth Pics
Let your photographer focus on the special shots, and have your wedding guests use your DIY photo booth as a selfie station. This approach allows you to ditch disposable cameras that run out of film and have no picture preview, as well as avoid the possibility of theft or loss when leaving out your personal camera or tablet. Everyone is already armed with a smartphone anyway, so leave it in your guests’ capable hands to play amateur photographer.
Use Instant Print Cameras
Instant print cameras are a must for any DIY wedding photo booth. If you have guests take pictures using an instant print camera, you can start your wedding album right there! Simply ask guests to paste their photos inside the book. And if you have a little extra room in the budget, encourage guests to take two photos. That way they can take one for themselves and leave one for you, so everyone gets a memento from the special night.
Consider Using an iPad
If you’re looking to create a photo album using higher quality photos, an iPad is the perfect solution. Everyone knows how to use one and they take great pictures, which will all be stored in one handy location for later use. You more than likely already have access to an iPad, removing any cost, and any pictures taken with it will be easy to share or print. Most iPads also come with built-in filters, some of which can be a bit silly, and can save you from purchasing any props.
Turn Key Photo booths vs. Customized Photo Booths
You can acquire a pre-packaged set of equipment to get you up and running quickly. Again, there are pros and cons with each of these solutions.
Turn Key
Typically these kits comes with a lower level camera, like a Canon Rebel, a printer, a generic flash and basic carrying cases. If you’re looking for a quick solution and don’t have time to do your research, this may be the best solution. If you have the time, price out each piece individually. You may be able to save anywhere from 10-15% by purchasing a good starter lighting kit like this 1,000 watt quartz light kit and a fun retro muslin backdrop.
Custom Photo Booth Options
If time allows and you’re handy, you can create your own custom booth from lightweight pipes such as the ones used to create trade show booths. Set up a backdrop on a stand and leave the sides open.